Fitting a wireless reversing camera has become one of the most popular car modifications among British motorists, especially those driving older vehicles that missed out on this feature from the factory. Whether you're trying to squeeze into a tight parking space on a Victorian terrace street or simply want extra peace of mind when reversing out of a busy supermarket car park, a good aftermarket camera can make a genuine difference. We spoke to drivers up and down the country about their own installation experiences, and gathered together the practical tips that made the biggest impact.
What to know
- Installing a wireless reversing camera is a popular, practical modification for older vehicles that lacks this feature from the factory.
- A typical wireless kit includes a camera unit, a display screen, a wireless transmitter, and a power connection to the car's reversing lights.
- Proper preparation, including reading instructions thoroughly and using the right tools, is essential to avoid common installation errors like poor camera angles.
- Mounting the camera near the number plate or boot lid requires connecting it to the reversing light circuit, which enables automatic activation when in reverse.
- Fine-tuning the camera angle is a critical, often overlooked step that ensures the driver has a clear view of potential obstacles like kerbs and bollards.
- While some motorists install these systems themselves to save on professional labor costs, complex vehicles may still benefit from expert installation.
- Advanced features such as night vision and IP68-rated waterproofing are highly recommended to ensure reliability in diverse weather conditions and low-light environments.
Understanding your wireless reversing camera kit components and pre-installation preparations
Essential components: camera unit, display screen, power supply, and wireless transmitter
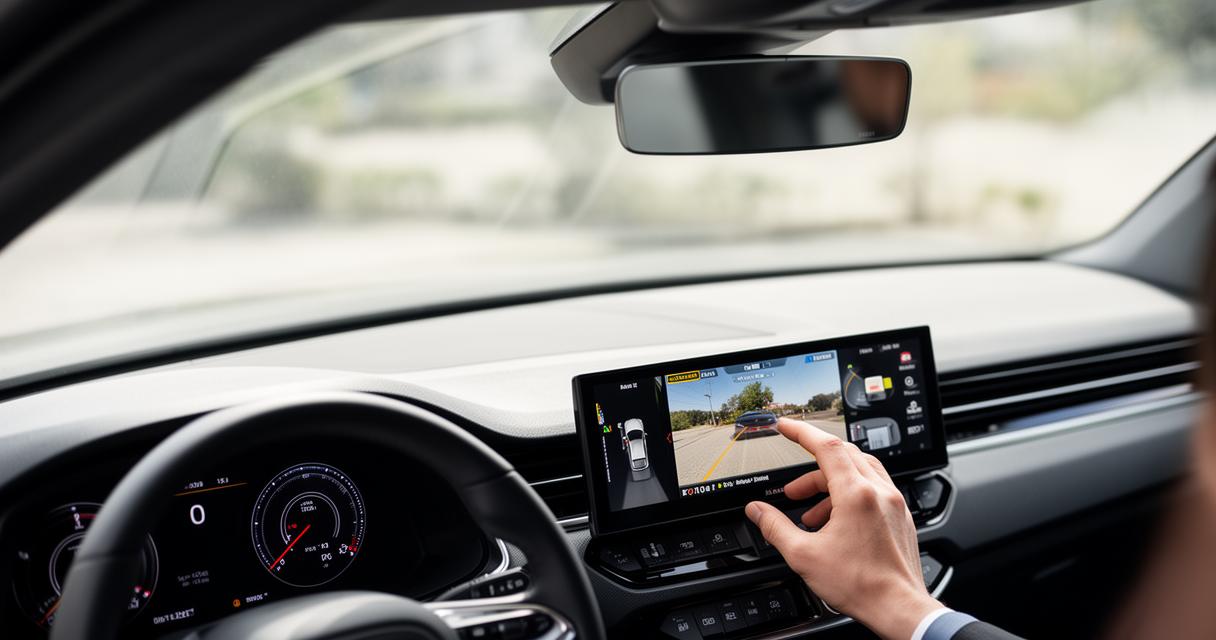
Before picking up a screwdriver, it helps to know exactly what you're working with. A typical wireless backup camera kit includes the camera unit itself, a display screen that usually mounts near the dashboard or clips onto the rearview mirror, a power supply that connects to the reversing light circuit, and a wireless transmitter that sends the video feed to the screen without the need for a cable running the length of the car. This wireless setup is precisely why so many drivers prefer these kits over traditional wired systems, since there's no need to thread cabling through door sills or under carpets.
Popular options on the market illustrate the range available. The AUTO-VOX Upgraded Solar Reversing Camera Wireless Kit comes in at just over one hundred pounds and offers straightforward fitting with 480p resolution, making it a sensible entry point for those new to car modifications. At the premium end, the Garmin BC50 Wireless Rear Backup Camera delivers proper 720p HD resolution along with night vision, though Garmin itself recommends professional installation for this particular model. Other contenders worth a mention include the Road Angel RA8200, the Pioneer ND-BC9, and the AEG Solar Powered Wireless Digital Reversing Camera, each requiring a separate monitor or pairing device such as the Garmin DriveSmart 66 sat nav unit.
Preparing Your Vehicle and Workspace for a Successful Installation
Preparation makes all the difference between a tidy job and a frustrating afternoon. Clear a bit of space around the boot and rear bumper, gather your tools including a trim removal tool, cable ties, and a decent drill if your kit requires one, and take a moment to read through the manufacturer's instructions properly rather than skimming them. Aaron Hussain, a reviewer who has tested several of these systems, notes that many installation headaches stem from rushing the wiring stage or failing to check that the camera's field of view will actually be unobstructed once fitted. It's also worth considering dash cam compatibility at this stage, since kits like the Nextbase Rear Window Camera are designed to pair directly with an existing Nextbase dash cam for dual usage, which can save you buying two separate systems.
Step-by-Step Installation Process: Wiring, Mounting, and Angle Adjustment for Optimal Performance
Mounting the Camera Unit and Establishing Secure Wireless Connection
The actual fitting process generally starts with mounting the camera near the number plate or on the boot lid, using either the adhesive pad supplied or small screws for a more permanent fixing. From there, the power supply needs connecting to the reversing light wiring, which triggers the camera automatically whenever the car is put into reverse gear. This is the part where many drivers report the most trouble, particularly getting behind interior trim panels without cracking the plastic. Once the wiring is sorted, pairing the wireless transmitter with the display screen is usually a simple button-press affair, though some units do take a few attempts before the signal locks in properly.
Installation costs vary considerably depending on how much of the job you tackle yourself. Fitting costs for a professional job typically range between seventy-five and two hundred pounds, depending on the complexity of the vehicle and whether any dashboard disassembly is required. Many drivers we spoke to opted to fit their own aftermarket cameras over a weekend, saving the labour charge but accepting a slightly longer, more fiddly process.
Fine-tuning camera angle and testing proper functionality across all conditions
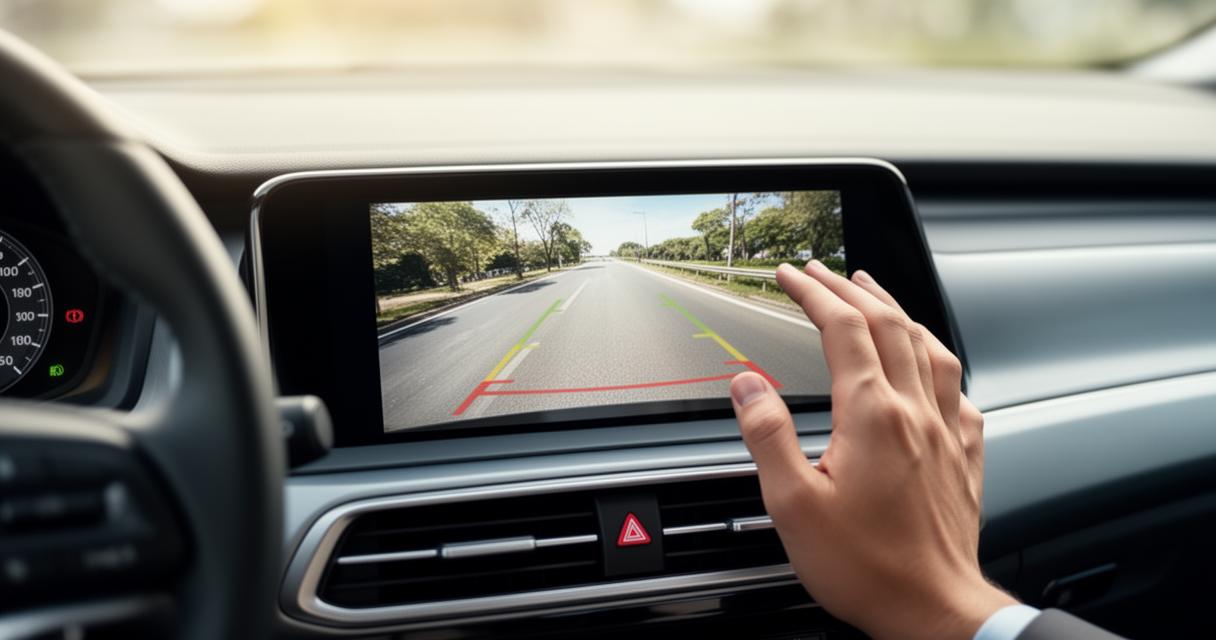
Getting the angle right is arguably the most underrated step in the whole process. Too steep and you'll only see the tarmac immediately behind the bumper; too shallow and you'll miss obstacles closer to the ground, such as low kerbs, bollards, or a child's bicycle left carelessly in the driveway. Most kits allow for a reasonable degree of manual adjustment once mounted, so it's worth reversing slowly towards a marked object and checking the screen repeatedly until the picture shows a genuinely useful field of view. Testing should happen in daylight, at dusk, and ideally in the rain too, since weatherproofing quality can vary noticeably between budget and premium units.
Maximising Safety and Compliance: Night Vision Capabilities, Waterproofing, and UK Vehicle Standards
Leveraging advanced features like night vision and weatherproof protection
Once the basic installation is complete, it's worth exploring the extra features many modern cameras offer. Night vision has become almost standard on mid-range and higher-end units, using infrared LEDs to illuminate the area behind the car when headlights alone aren't enough. This proves particularly valuable during the darker winter months, when reversing into an unlit driveway can otherwise feel like a guessing game. Weatherproofing is equally important given the British climate, and most reputable cameras carry an IP68 rating or similar, meaning they can withstand driving rain, road spray, and the general grime that accumulates on a number plate camera over time.
Solar-powered options, such as those from AUTO-VOX and AEG, have also grown in popularity, reducing the reliance on the car's own electrical system and offering a neat workaround for drivers wary of tapping into their reversing light circuit. HD resolution has similarly become more commonplace, with 720p now considered a reasonable baseline for anyone wanting a genuinely clear picture rather than a grainy approximation of what's behind them.
Ensuring Rear Obstacle Detection and Adherence to British Vehicle Safety Regulations
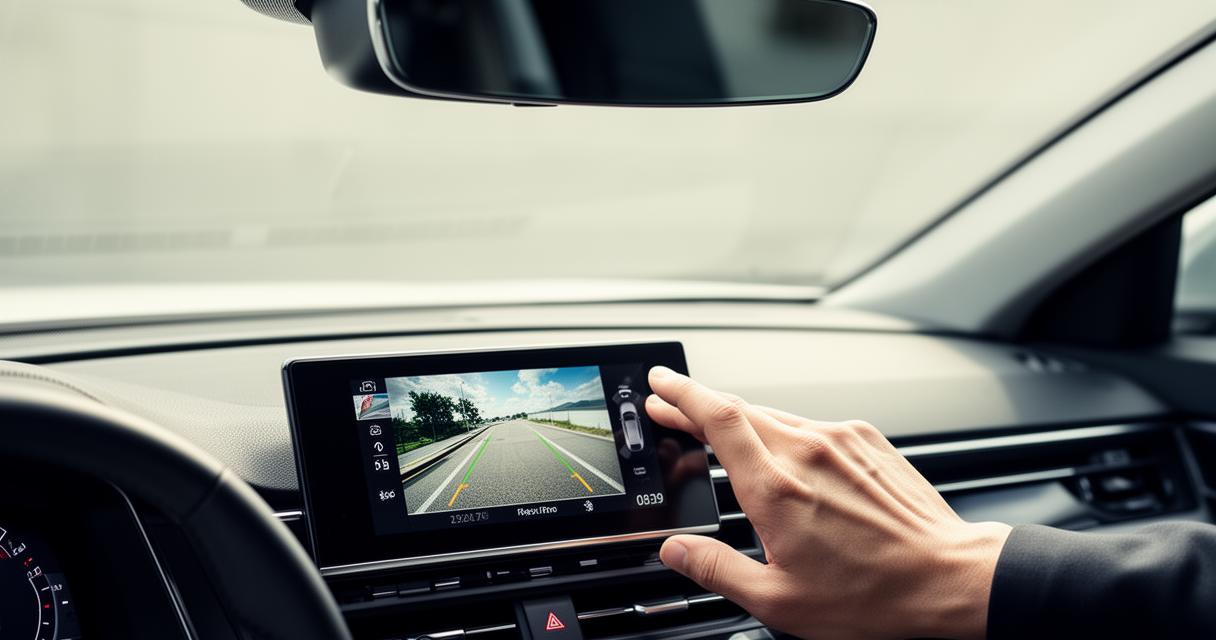
Safety remains the whole point of fitting one of these systems in the first place. A well-installed camera dramatically improves rear visibility, helping drivers spot pedestrians, pets, and low obstacles that would otherwise sit in a blind spot. Some drivers choose to pair their camera with additional backup sensors for an extra layer of reassurance, particularly on larger vehicles like vans and pickups where rear visibility is naturally more limited. It's sensible to check that any modification complies with general vehicle safety regulations, ensuring the number plate remains clearly visible and that no wiring interferes with existing lighting circuits. Getting this right not only keeps your car roadworthy but also gives genuine parking assistance exactly when you need it most, transforming a stressful reverse into a straightforward manoeuvre.