Turning a set of keys into a fully-fledged digital instrument sounds like wizardry, but the process is far more approachable than most newcomers expect. Whether you have splashed out on a dedicated MIDI controller or you are repurposing an existing digital piano, the journey from plugging in a cable to sculpting your own custom piano tone follows a logical path. This guide walks through that path, from the initial connection to the more creative stages of sound design, so you can get your fingers on the keys and your ideas into your speakers with the minimum of fuss.
In short
- Connecting a MIDI controller via USB-to-Host is the most efficient method, though Bluetooth options exist with potential latency issues.
- DIY MIDI projects using platforms like Arduino often require helper software like Hairless MIDI or firmware updates to translate serial data into recognizable MIDI messages.
- Proper configuration within a Digital Audio Workstation (DAW) is essential, including selecting the correct input device and managing Local Control settings to avoid duplicate audio.
- Virtual Studio Technology (VST) plugins allow users to load high-quality sampled or synthesized piano sounds directly into their recording software.
- Modern digital instruments, such as the FLYKEYS series, often support both MIDI data and USB audio recording for a more streamlined production workflow.
- Sound design involves adjusting specific parameters within virtual instruments to customize tone, attack, and expression for a more personalized performance.
Getting started: connecting your midi controller
Before any music happens, your controller needs to actually speak to your computer, and this is where most beginners hit their first snag. The good news is that connecting a modern MIDI keyboard is generally straightforward, provided you use the correct cable and port from the outset.
Choosing the Right Cable and Port for Your Setup
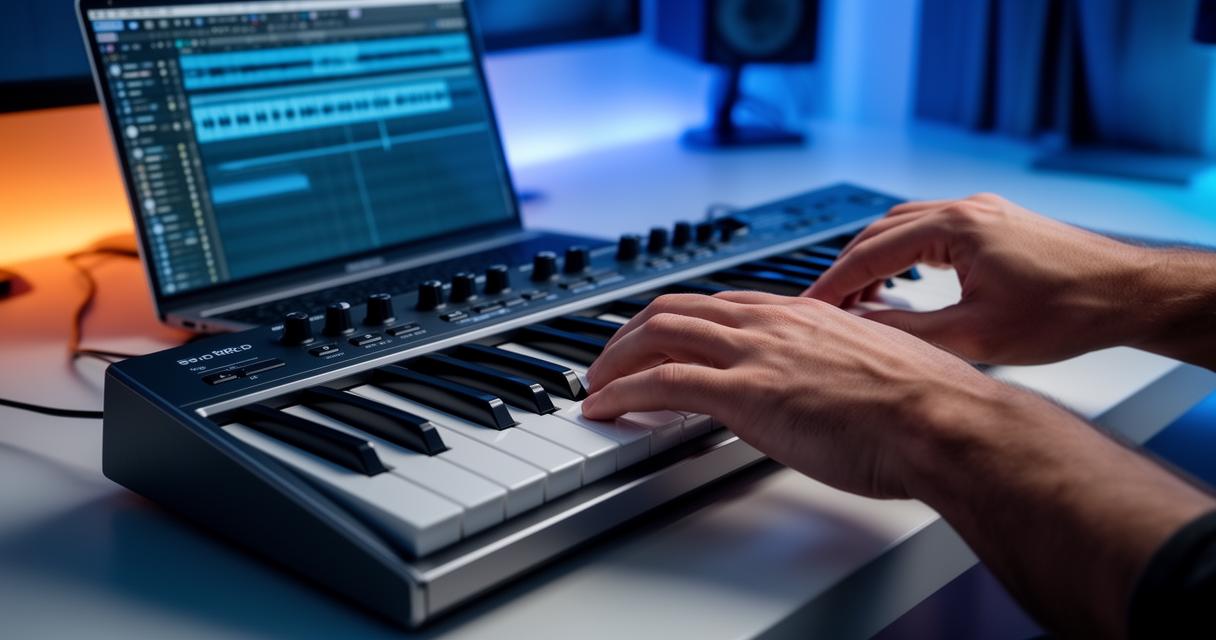
The most widespread connection method today is USB-to-Host, which simply involves running a USB cable from the dedicated host port on your keyboard to your computer. This single cable typically handles both power and data, making it the tidiest option for most home setups. Older or more traditional gear may instead rely on 5-pin DIN MIDI connections, which require a separate MIDI interface if your computer lacks the right socket. For those who prefer to cut the cord entirely, Bluetooth MIDI has become increasingly common, offering wireless freedom, though it is worth noting that latency can vary quite noticeably between devices, so a wired connection is often still preferred for serious recording work. Whichever route you take, whether on a Mac, PC, iPad, or Android device, each platform has its own quirks regarding drivers and permissions, so it pays to check the specific setup instructions for your chosen device before you start troubleshooting unnecessarily.
Installing Necessary Drivers and Software for Recognition
Simply plugging in a cable does not always guarantee that your computer will recognise the new arrival. This became abundantly clear in a case involving a user known as DMacQ, who was attempting to build a homemade MIDI controller using an Arduino UNO. Despite the hardware being connected, the free application VMPK, short for Virtual MIDI Piano Keyboard, simply refused to acknowledge the UNO as a valid MIDI input device. As explained by a contributor named Grumpy_Mike, the issue lies in the fact that VMPK cannot directly interpret raw serial data coming from an Arduino; it needs that information converted into proper MIDI messages first. His recommended fix was a helper application called Hairless MIDI, which handles this serial-to-MIDI conversion neatly in the background. Another contributor, PieterP, offered an alternative in the form of HIDUINO, a solution that allows the Arduino to present itself directly as a USB MIDI device without needing that extra conversion step. This does involve a firmware replacement on the board itself, which Grumpy_Mike warned might be daunting for absolute beginners, though PieterP was quick to point out that flashing new firmware over USB is actually a fairly painless process once you know the steps. For anyone building their own controller from scratch, PieterP also pointed towards a useful GitHub library designed specifically to simplify this kind of project.
Configuring your digital audio workstation (daw)
Once your controller is finally recognised by your operating system, the next hurdle is getting your chosen recording software to listen to it properly. This is a vital step, as a controller that works perfectly at the operating system level can still be ignored entirely by an individual programme if the settings are not configured correctly.
Selecting Your MIDI Controller as the Primary Input Device
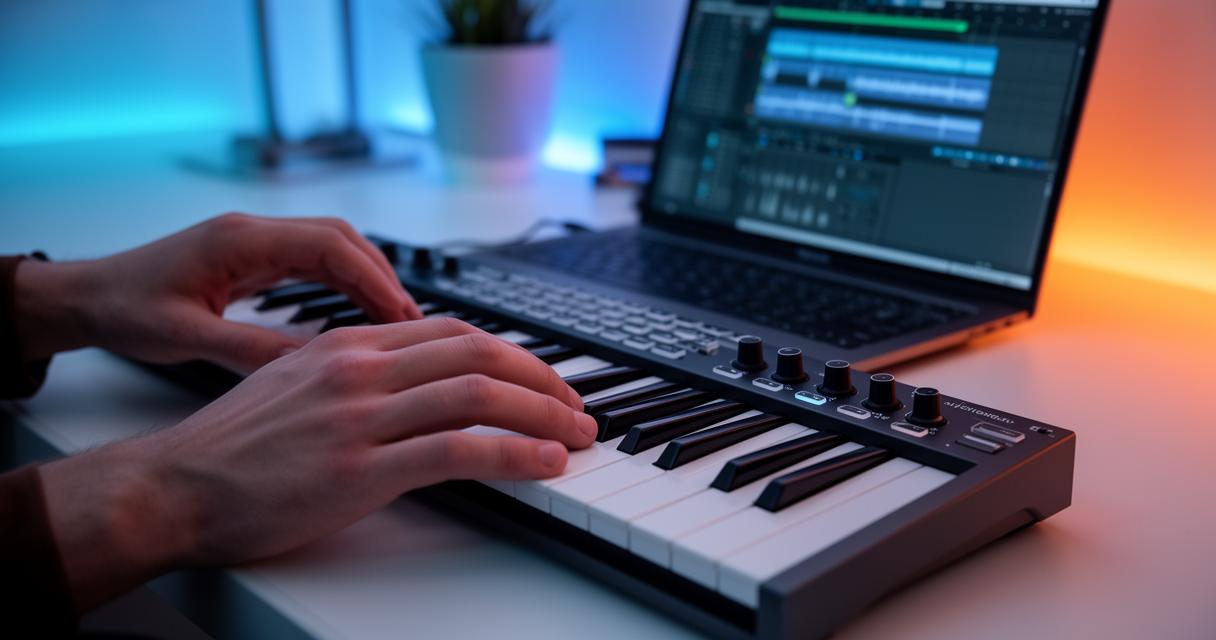
Every DAW, from industry giants to free entry-level options, requires you to manually select your keyboard as the active input source within its audio and MIDI preferences menu. This is also the point where you should investigate the Local Control settings on your instrument, particularly if you are using a digital piano rather than a dedicated MIDI controller. Local Control determines whether the instrument's own internal sound engine responds to your keystrokes independently of the computer. If this is left switched on while your DAW is also generating sound from the same notes, you may end up hearing every note played twice, which is a common and easily avoidable frustration. Getting the MIDI channels correctly aligned between your hardware and software will also save you a considerable headache further down the line, especially if you plan on layering multiple instruments.
Loading Virtual Instruments and VST Plugins for Piano Sounds
With the input properly recognised, you can finally load a virtual instrument, commonly known as a VST, short for Virtual Studio Technology. These plugins are essentially digital instruments living inside your software, ranging from meticulously sampled grand pianos to entirely synthesised textures. Brands such as FLYKEYS illustrate just how broad this ecosystem has become, offering everything from portable keyboards and upright digital pianos to full grand digital pianos, electronic drum kits, and a range of supporting accessories. Models like the FDP-7 and the wider FP series are particularly notable for supporting USB audio recording alongside standard MIDI output, meaning musicians can capture both the performance data and the actual audio signal simultaneously.
Mastering sound design and performance techniques
With the technical connections sorted, the truly enjoyable part begins: shaping the sound itself and refining how you actually play.
Adjusting Parameters for Personalised Tone and Expression
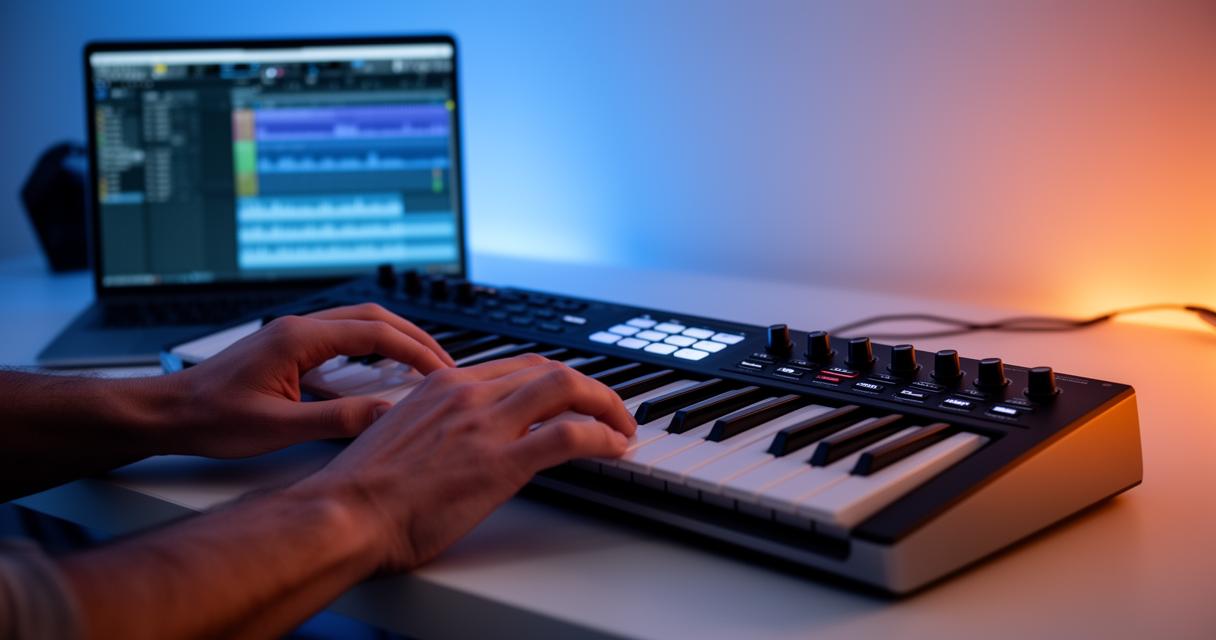
Most virtual pianos come loaded with adjustable parameters that let you tailor the tone to your taste, whether that means brightening the upper register or softening the attack of each note. It is worth remembering that dedicated MIDI controllers often feature lighter, synth-style keys, whereas genuine digital pianos tend to offer weighted keys that far more closely mimic the resistance of an acoustic instrument. This distinction matters greatly for expression, as weighted actions generally allow for far more nuanced dynamic control when performing.
Recording, Mixing, and Experimenting with Effects Processing
Finally, do not be afraid to experiment. Recording multiple takes, layering different virtual instruments, and applying effects processing such as reverb or compression are all part of developing your own signature sound. If you do run into technical trouble along the way, basic MIDI troubleshooting usually starts with checking your cables, confirming the correct channels are selected, and double-checking your audio settings before assuming the worst about your hardware.